
Welcome to my toddler's closet! In this space, I wanted to build functional built-ins that included drawers and hanging space for clothes, smaller shelves for shoes, and larger shelves for toys, storage, etc.

Materials:
2 sheets| 1/2" sanded plywood
1 sheet| 3/4" sanded plywood
1| 2"X6"X12'
3| 1"X2"X8' pine
3| Furring strips
4 sets| Drawer slides (I used 16")
Tools:
Jig or table saw
My total cost: $263.00
1. Draw up a plan:
I had an idea of what I wanted from this closet, but drawing it out made it much easier to visualize. Plus, I was able to better determine my measurements.

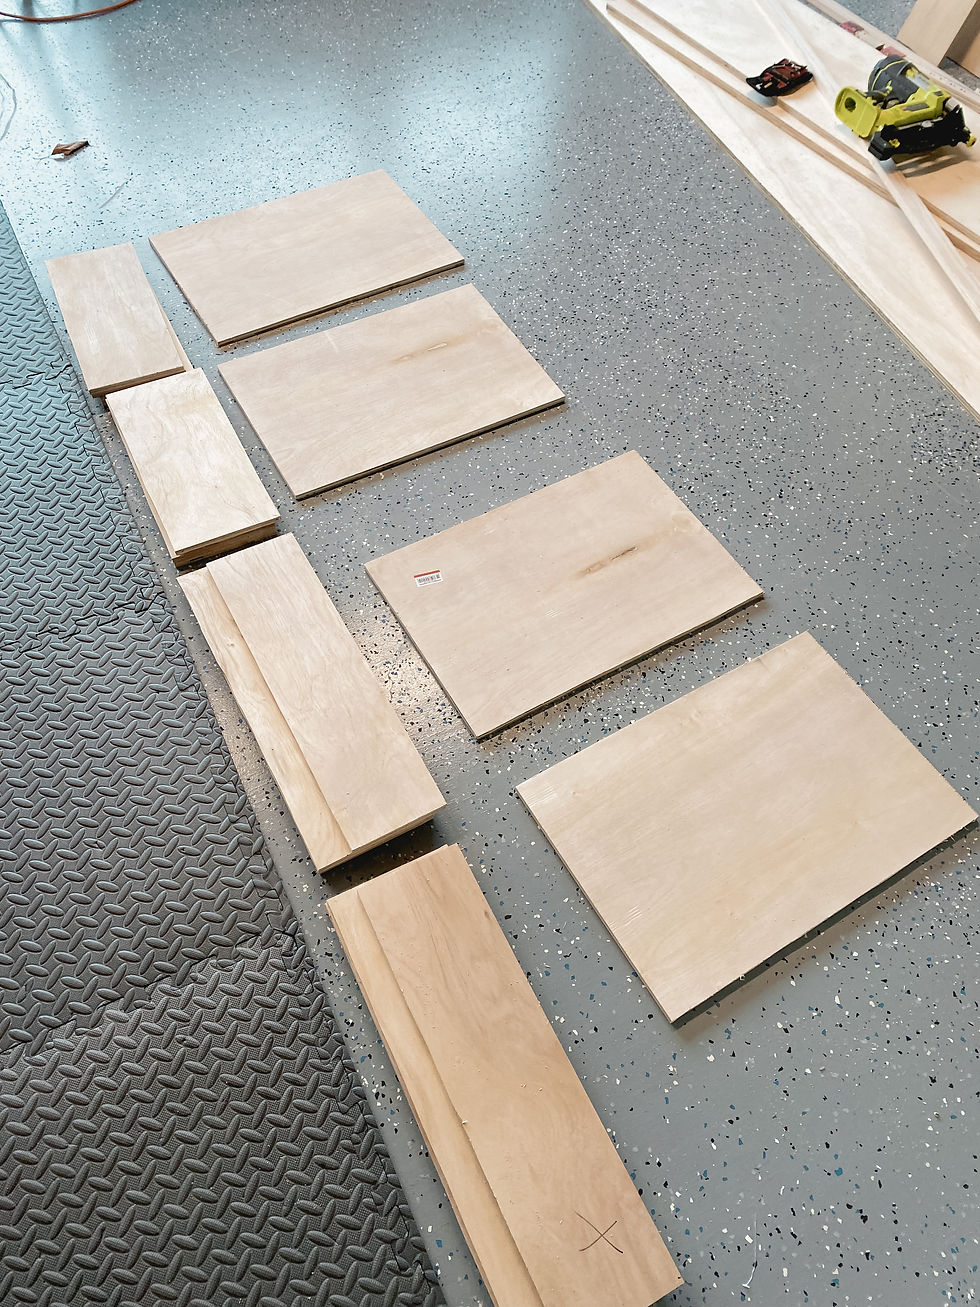
2. Make your cuts
Using the measurements I mapped out, I asked Home Depot to rip down the plywood for me since... 1) that's the only way it could fit the sheets into my car and 2) I don't have a table saw. Just ask an employee, they're happy to help!
Using the drawing plans, I started making cuts on everything else.
Cut List:
Base:
2| 2x6 @ 35" (for base - front/back)
3| 2x6 @ 12" (for base - left/right/center)
1| 1/2" plywood @ 35"X16" (sets on top of base)
Left and right dividers + top shelf:
2| 3/4" plywood @ 69"X16"
1| 3/4" plywood @ 58"X16"
Drawers: *measurement details in step 5
8| 1/2" plywood @ 7"x23" (for fronts and backs of drawers)
8| 1/2" plywood @ 7"x14" (for sides of drawers)
4| 1/2" plywood @ 22.5" x 13.5" (for bottoms of drawers)
8| 1X3 MDF @ 25" (for top/bottom of shaker-style drawer fronts)
8| 1X3 MDF @ 8" (for both sides of shaker-style drawer fronts)
Shelves:
4| 3/4" plywood @ 10"x16" (for shoe shelves)
3| 3/4" Plywood @ 24"x16" (for the bigger shelves)
Furring strips cut to fit (for securing shelves)
Pine 1x2s cut to fit (for framing out exposed plywood edges)
3. Assemble the base:
I assembled the closet base on a flat surface to be sure the corners were perfectly square and the top was level. Then I drilled the base into the studs of the closet to prevent it from moving and topped it with a sheet of plywood.

4. Assemble left and right dividers + top shelf:
I attached both plywood sheets vertically to the base using pocket holes and screws. Then, placed my top shelf over the two dividers. It's very important to make sure everything is level and square, so I used a level to check each side and a square to check the corners, then I secured the top shelf into place by nailing through the top, into the dividers.
Then I started framing out everything with pine 1x2s. This could certainly wait until the end, but I like to do this as I go since it makes everything look nicer.

5. Build and install drawers:
I knew I wanted the drawers 7 inches deep, but I needed to find the rest of my measurements.
To work properly, they needed to fit perfectly between the dividers with the drawer slides. Here was my thought process and what I needed to consider to determine the exact size of the drawers:
I had EXACTLY 24" width to work with for my dresser.
Referring to the instructions on the drawer slides, a 1/2 gap between the dresser sides and the drawers was required for installation.
I also wanted my drawers flush with the rest of the dresser so they needed to be exactly 16" deep
I'm working with 1/2" plywood so that also needed to be accounted for in the measurements.
Math breakdown for the drawers:
Drawer fronts and backs:
24" dresser width - (1/2" slider gap X2) = 23" width
For 4 drawers, I needed 8 of these cuts
Drawer sides:
16 inch dresser depth - (1/2" to account for the thickness of the plywood X2 ) - (1/2" to account for the plywood thickness X2) = 14" depth
For 4 drawers, I needed 8 of these cuts
Drawer bottoms:
23"x14" drawers - 1/2 plywood depth = 22.5" X 13.5"
For 4 drawers, I needed 4 of these cuts
After making my cuts, I assembled the drawers using wood glue and nails to ensure they could withstand the stress of kids stuffing them full. Then I followed the instructions that came with the drawers slides for installation.


6. Shaker-style drawer fronts (the easy way)
This is all personal preference, but I wanted a half-inch overlay around the edges of my drawer, so I used this to determine the size of the frames listed in the cut list above. Then I drilled pocket holes into the smaller cuts and screwed the frames together.
Because the drawers were built flush with the dresser sides, I was able to simply nail and glue these frames over the top of the drawer fronts, giving them a shaker-style look!

7. Add shelves
To hold the shelves into place, I used furring strips on the underside of each shelf. I nailed the furring strips into the studs of the wall or plywood, then placed the shelves over the top. These selves aren't meant to be adjustable, so I nailed them into the firring strips to prevent them from moving. Then I framed them with the pine 1x2s.

8. Calk, wood fill, sand, prime, paint, and hardware
While finishing work isn't my favorite, seeing the finish line is always exciting. I caulked all the edges, filled all the nail holes, gave everything a light sanding, and painted the closet Evergreen Fog by Sherwin Williams. I used a paint sprayer for the drawers and foam-rolled the rest of the closet. I attached my hardware with the one-inch dowels to complete the hanging space.

If you're planning on creating built-ins for your closet, please tag me! I'd love to see!
<3 Aubrey

Comments